Saturday evening, the dining room is full and the phone rings. A guest has also written to the cafe's direct messages, and a booking mentioned in the staff chat may never have reached the notebook by the till. The notebook shows two bookings at 19:00, both for the window table.
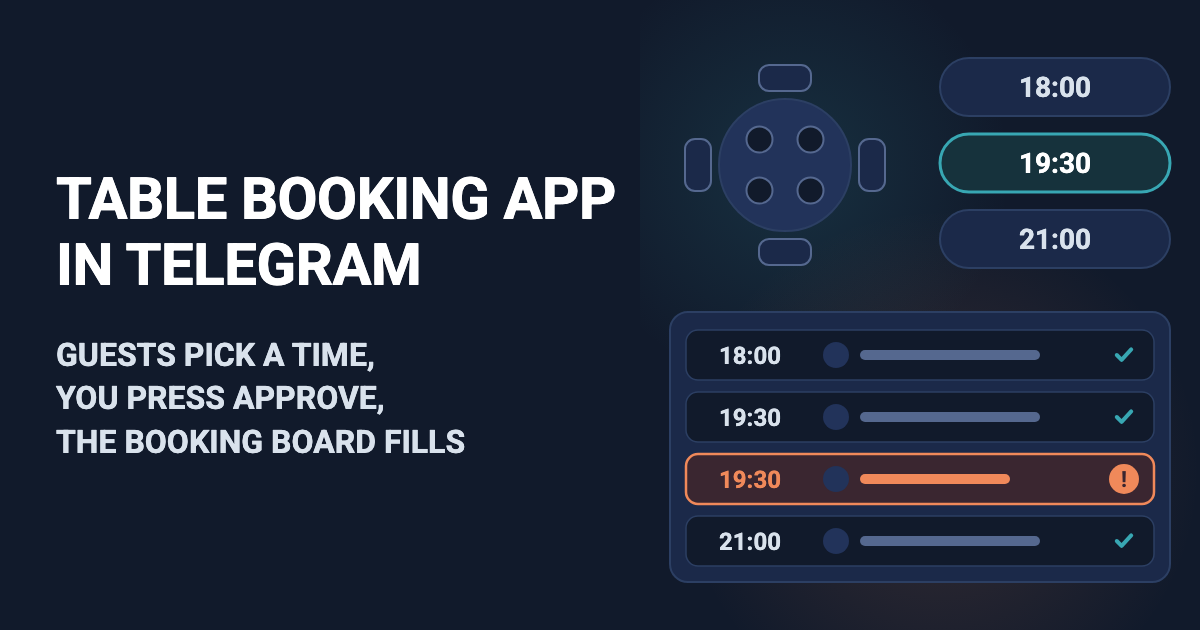
Easy Post is a website where you build a table booking app that runs in Telegram. It asks every guest the same seven questions: day, time, number of guests, name, phone, special wishes and occasion. The answers reach you, whoever decides on bookings, as one Telegram message, the "card", with Approve and Reject buttons. Press Approve and the guest gets your confirmation in Telegram, and the booking is posted to a private Telegram channel (a feed that only its administrators post to and only invited people can read), the booking board your staff read. Easy Post calls a booking a "submission"; this article says "booking". A guest without Telegram can use a web page instead, but you must phone that guest with your answer.
Easy Post is not a reservation system. It has no table map or table numbers and does not know how many seats are taken. Guests choose the time from buttons and type the day. Nothing stops two guests from asking for the same slot, so you decide each time you press Approve. It takes no deposits or payments, sends no reminders, does not let a guest change or cancel a booking, and has no calendar view. A table map, a live count of free tables, deposits, reminders and a calendar view are not part of the form today; they can be built as an add-on or as custom work on top of it: describe what you need on the support page. If bookings reach you by phone, direct messages and a notebook, and some get lost, the form already fixes that: guests get one link, and every request arrives in the same format, with your yes or no on each.
Where to start
You set everything up on the easy-post.app website. Sign up. The first screen asks "What do you want to receive?" and lists tasks. Do not pick "Bookings and service requests": it builds a service request form, which asks different questions. Press "pick from all ready-made forms" under the tasks and choose "Restaurant Booking" in the Business list. If you came from a button in this article, the first screen has a large button that starts with "Start with the" and names the Restaurant Booking form: press it instead.
Easy Post then builds a "pipeline": your form, its settings and the list of bookings it collects. Its page, the pipeline page, has a Submissions button that opens the list (the Submissions page). If your Telegram is not linked yet, the next screen, "Last step: connect Telegram", links it so that cards can reach you: scan its QR code with your phone, or press its Telegram button. Press Start in Telegram (Telegram's own button), then the bot's Start button under the welcome message, and fill in the form as a guest.
The card arrives in the same chat without buttons, marked "Saved in your dashboard" (Easy Post's name for the Submissions page), because no channel is connected yet. If you skipped that screen, the "Test the form in Telegram" button on the pipeline page does the same. With an account already, press "+ New pipeline" on your project page and pick the template there.
The seven questions of the table booking app
This is the Restaurant Booking template in Easy Post. Open Form Settings with the Form button on the pipeline page. Each question is a row with a "Field name, shown only to you" box (the label on your card), a "Bot prompt" box (the question the guest sees), a Type menu and a "Required" tickbox. For a Buttons question a box for the button names appears under the prompt: the names go in that one box, separated by commas, so a name cannot contain a comma. The no-code form builder guide compares the ways to build such a form.
- Date (required). The bot accepts any text, so you can get "Saturday", "14.11" and "tomorrow". Change the prompt to "Which day? Write the day and month, for example Sat 14 Nov." so that most cards use one format you can search for.
- Time (required; buttons 12:00, 13:00, 14:00, 18:00, 19:00, 20:00, 21:00). The template has no button between 14:00 and 18:00. Rename the buttons to the times you take, for example "12:00, 12:30, 13:00". A guest cannot type a time that has no button, so list every time you take.
- Guests (required; buttons 1-2, 3-4, 5-6, 7+). These are ranges, so plan for the top of the range.
- Name (required).
- Phone (required). The guest taps "Send my number" or types it. It is how you reach a guest who has no @username (Telegram's public handle, which not everyone sets) or who booked on the web page.
- Special Wishes (optional; the skip button says "No special requests"). Allergies, a high chair, a window seat.
- Occasion (optional; buttons Birthday, Anniversary, Business, Date, None, and a skip button that says "Skip"). "Date" means a date night, so rename it "Date night". "None" writes "Occasion: None" on each post where a guest picks it, while "Skip" writes nothing, so delete "None".
When you finish, press Save at the bottom of the page.
Try the table booking template →
What a guest sees
The guest opens your link, taps Telegram's Start button, then the bot's own Start button under your welcome message. The bot asks the seven questions one at a time, and the optional ones have a skip button. Guests talk to Easy Post Bot; your cafe's name appears only in the welcome text you write, and a bot under your own name is a separate setting that not every plan includes. On some plans the bot also adds a "Powered by Easy Post" line.
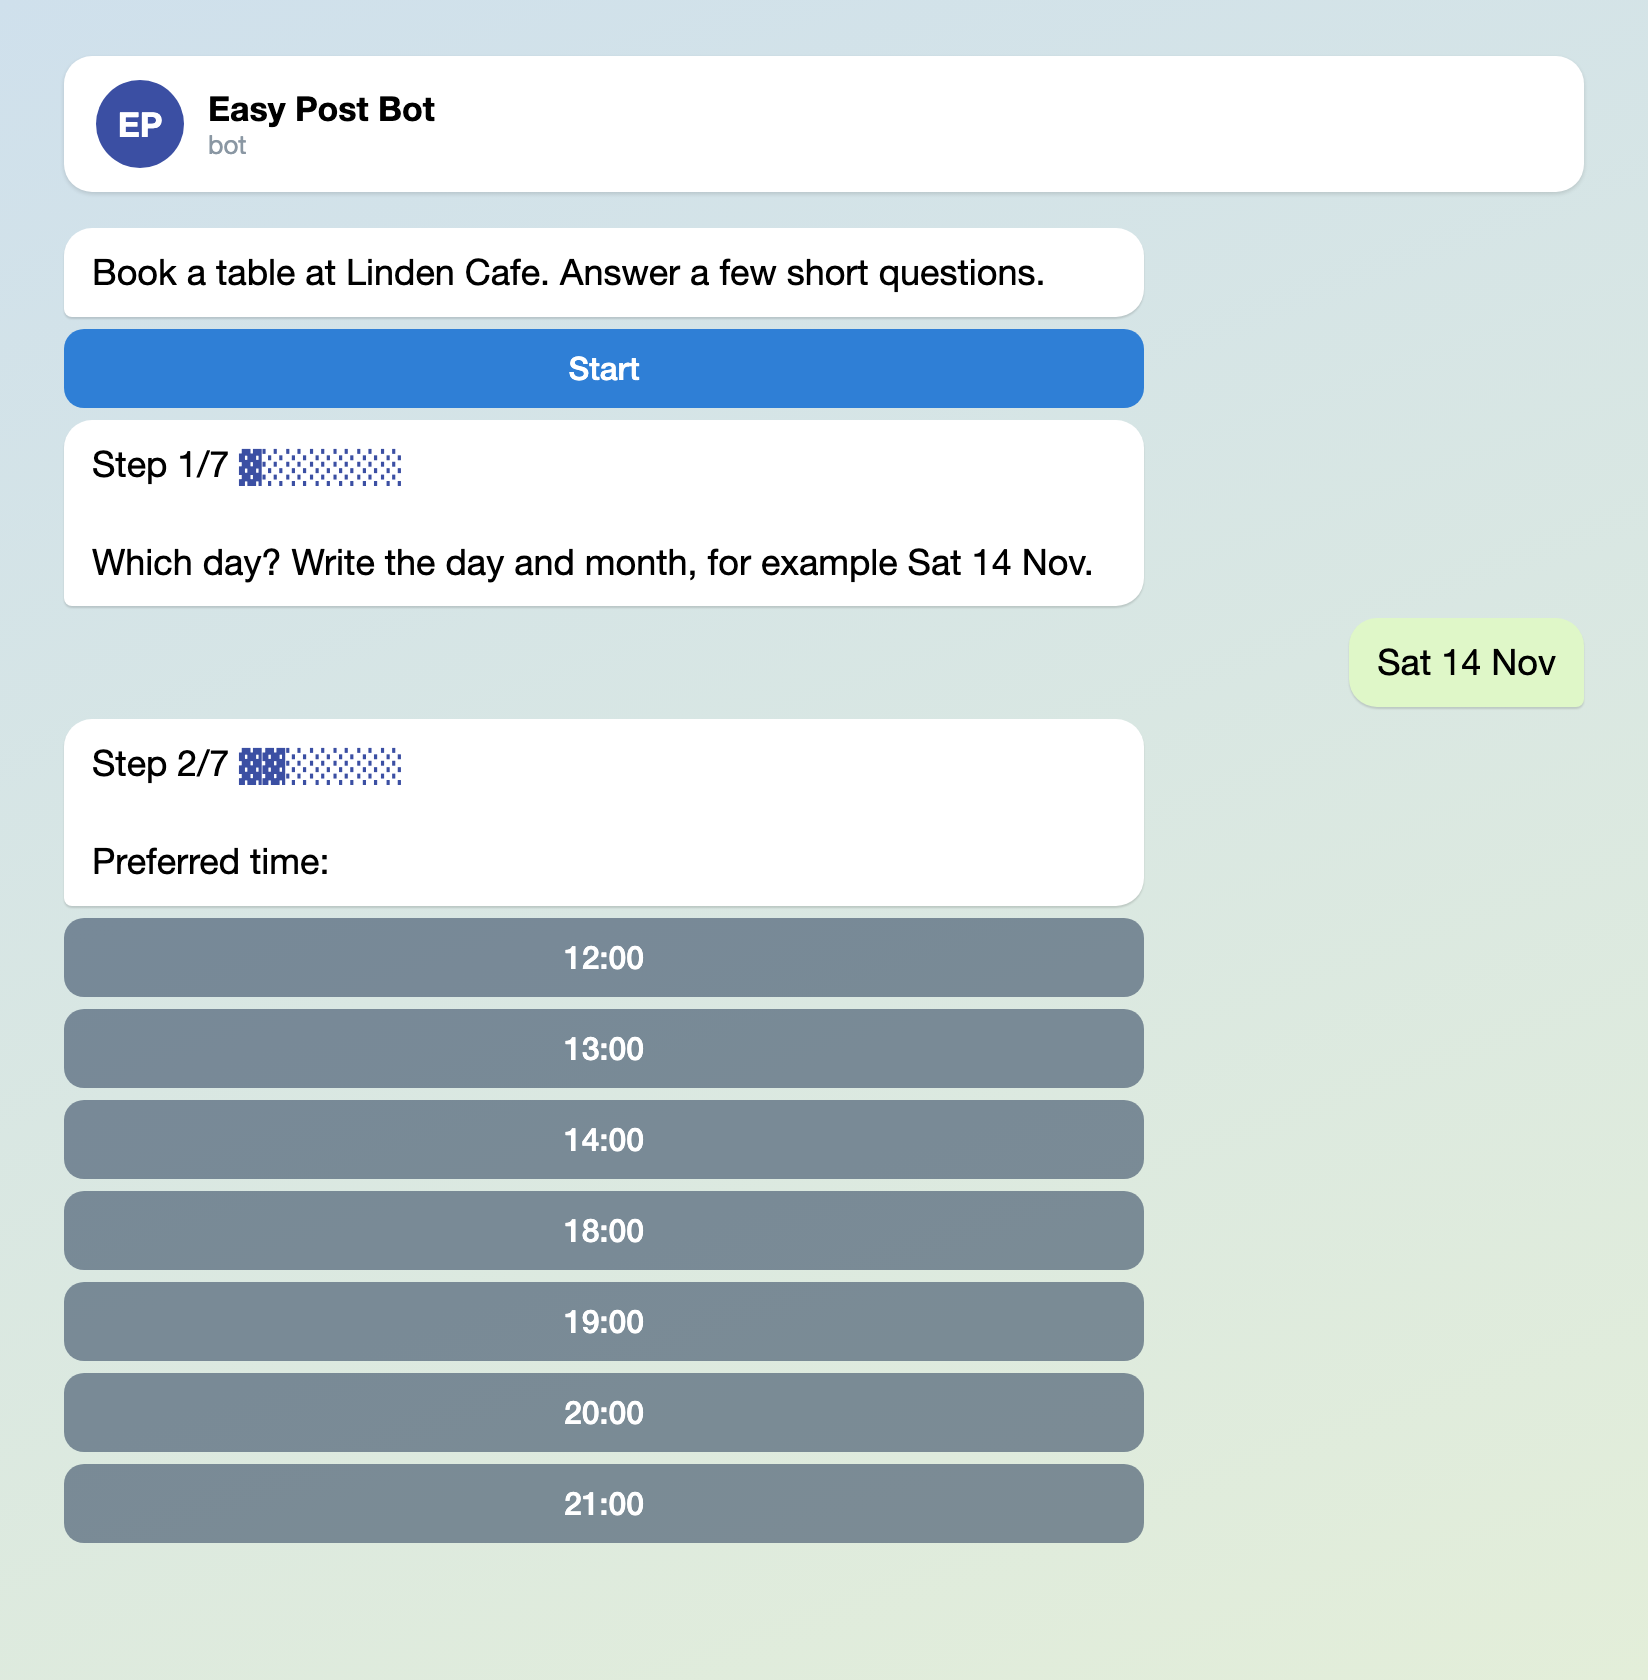
Illustration: the system texts are the bot's own, while the welcome message, the questions and the buttons are the ones you write; names and data are made up.
Connect a private channel as your booking board
Approve needs somewhere to send the booking: your private channel. Keep it private: each post carries a guest's name and phone number, and in a public channel every subscriber would read them. Connect it before the first booking from anyone but you and your Members: a booking made before the channel is connected arrives without Approve and Reject, and the "Still to do" block of the pipeline page disappears when that booking arrives.
- In Telegram choose New Channel (in the menu, or under the pencil button), type a name such as "Linden Cafe bookings", choose Private when Telegram asks for the channel type, and add the staff who take bookings.
- Press "Choose a channel in Telegram" in the "Still to do" block of the pipeline page (the button appears once your Telegram is linked). Telegram opens the bot, which sends a "Choose a channel" button. Press it, pick your channel and confirm; the bot becomes an administrator there.
- The bot answers "Done" and names the channel. From now on Approve posts to it.
If the button fails, press "Add the bot to a channel" in the same block. If that fails too, or the block is gone, write to support: the manual route needs the channel's numeric ID, which is hard to find without extra tools.
Each approved booking becomes one post, built from the "Post Template" box in Form Settings: plain text, one line per answered question, such as "Time: 19:00" and "Guests: 5-6", with no buttons. If you delete a question, delete its line there too, or the post shows the bare {occasion}.
What happens when a guest books
- After the last answer the guest sees your "request received" text, and the card reaches you and every member of your project who linked Telegram (members are explained below).
- The card lists each answer and the guest's Telegram name (and @username, if there is one). Under it are Approve and Reject, then Edit and Delete.
- Easy Post does not check for clashes, so look at the booking board for that day and time before you press anything. Search the channel for the day; a guest who wrote "tomorrow" will not match, so read the card too.
- Approve sends the guest your approved text and posts the booking to the board. Reject sends your rejected text and posts nothing; the booking stays on the Submissions page under Rejected. Delete tells the guest nothing.
- Edit opens the booking on the website, where you can fix typed answers: day, name, phone and wishes. Buttons (Time, Guests, Occasion) and bookings already on the board cannot be edited.
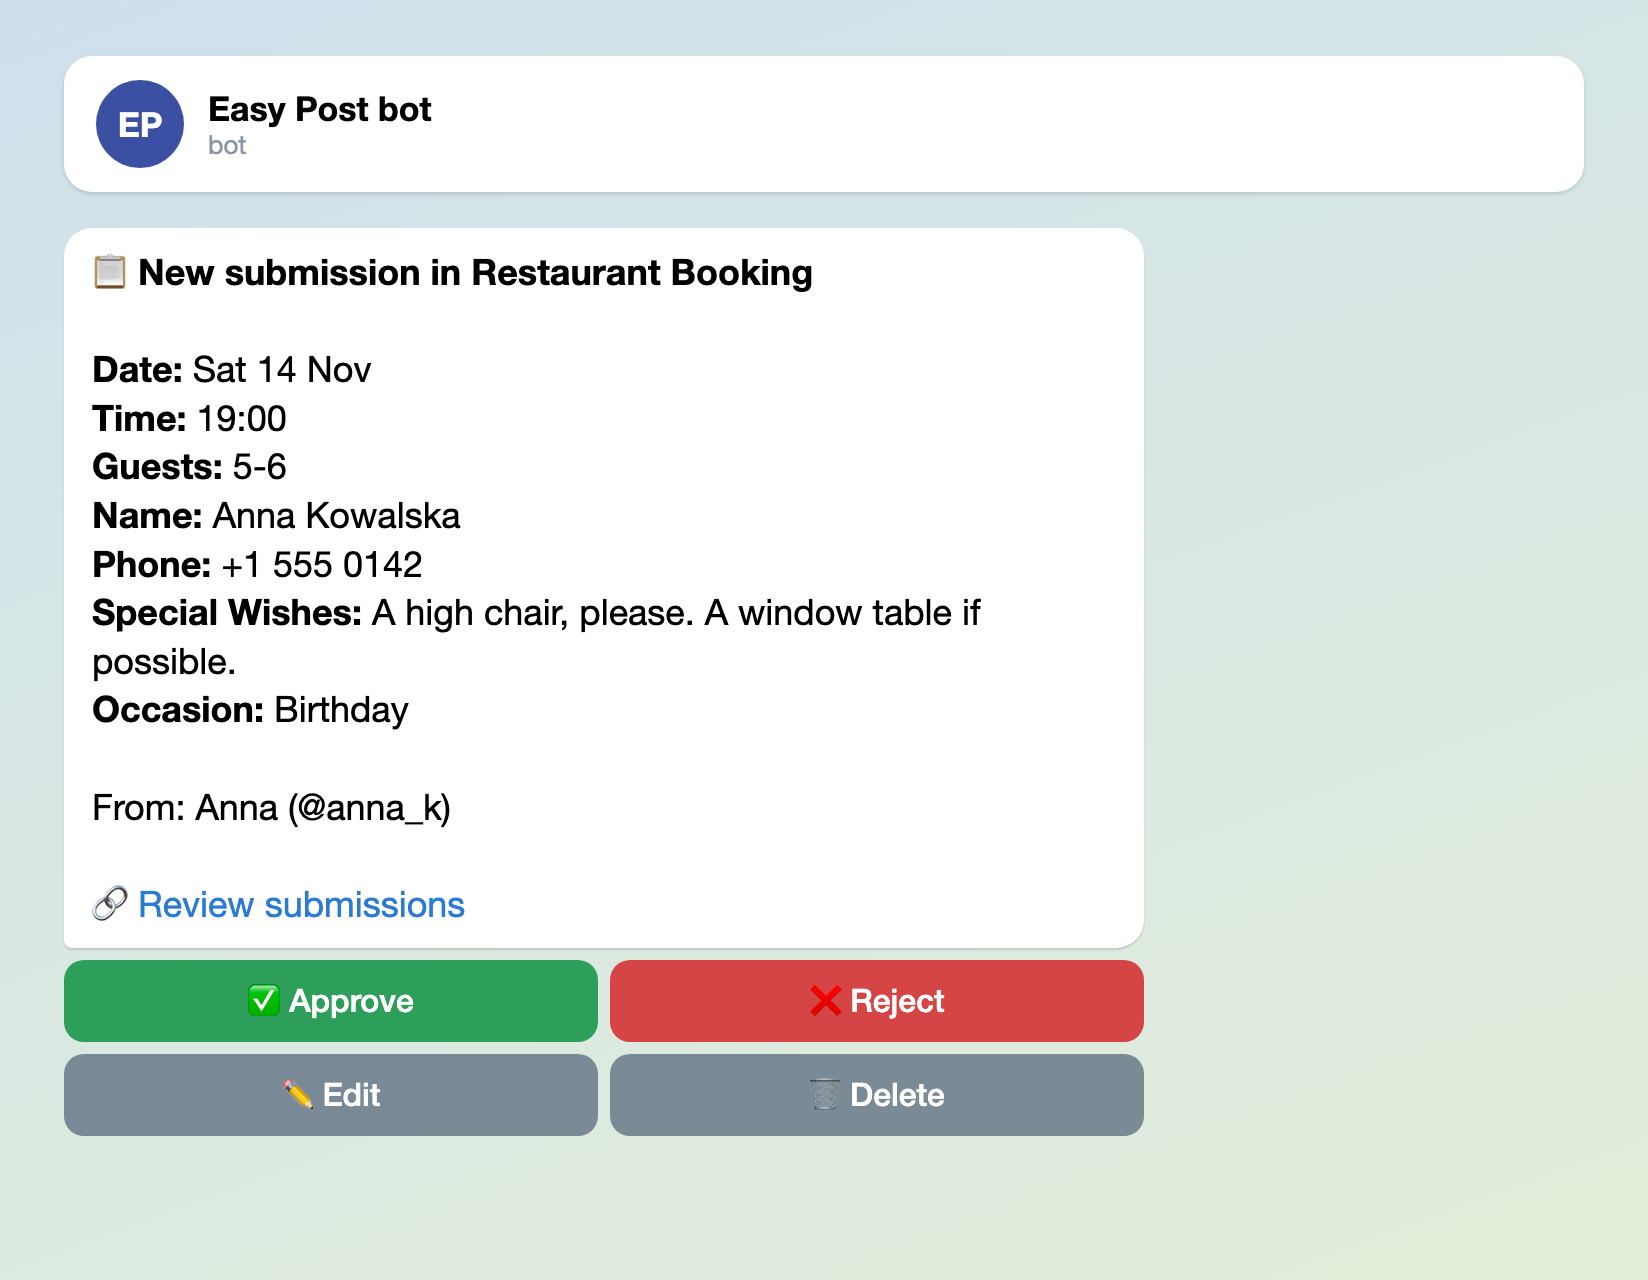
Illustration: the card layout is the bot's own, while the question names are the ones you set; names and data are made up.
To give a second person the cards, press Members on your project page, enter the email of their Easy Post account (they must sign up first) and press Invite. They link Telegram on their profile page, or with the "Link Telegram" button on the pipeline page. A member can press Approve or Reject too, and the first press counts. A member can also change the form and the actions and delete bookings or the whole pipeline, and only you can invite or remove members, so invite only people you trust. Staff who only need to read bookings do not need an account: add them to the channel.
Four texts to paste into Form Settings
All four boxes are in Form Settings: "Welcome Text" and "Completion Text" under "Bot Messages", "Approved Message" and "Rejected Message" under "Status Notifications". Replace the defaults, which say nothing about a table, then press Save at the bottom of the page.
In "Welcome Text":
Book a table at Linden Cafe. Answer a few short questions.
In "Completion Text", the "request received" text the guest sees right after the last answer:
Request received. Your table is not confirmed yet. We answer by phone or in Telegram, usually within two hours between 10:00 and 22:00.
In "Approved Message":
Your table is confirmed for the day and time you chose. We hold it for 15 minutes after that time. To change or cancel, call 555 0100.
In "Rejected Message":
We cannot take this booking for the day and time you chose. Send a new request for another time, or call 555 0100.
Put your own name, hours and phone number in. The approved and rejected texts go word for word to every guest, so they cannot repeat the day or the time. Promise only what your staff will do: a table held for a fixed time, an answer within hours you keep, changes by phone. Leave "we are full" out of the rejection, because it is untrue for some of your rejections.
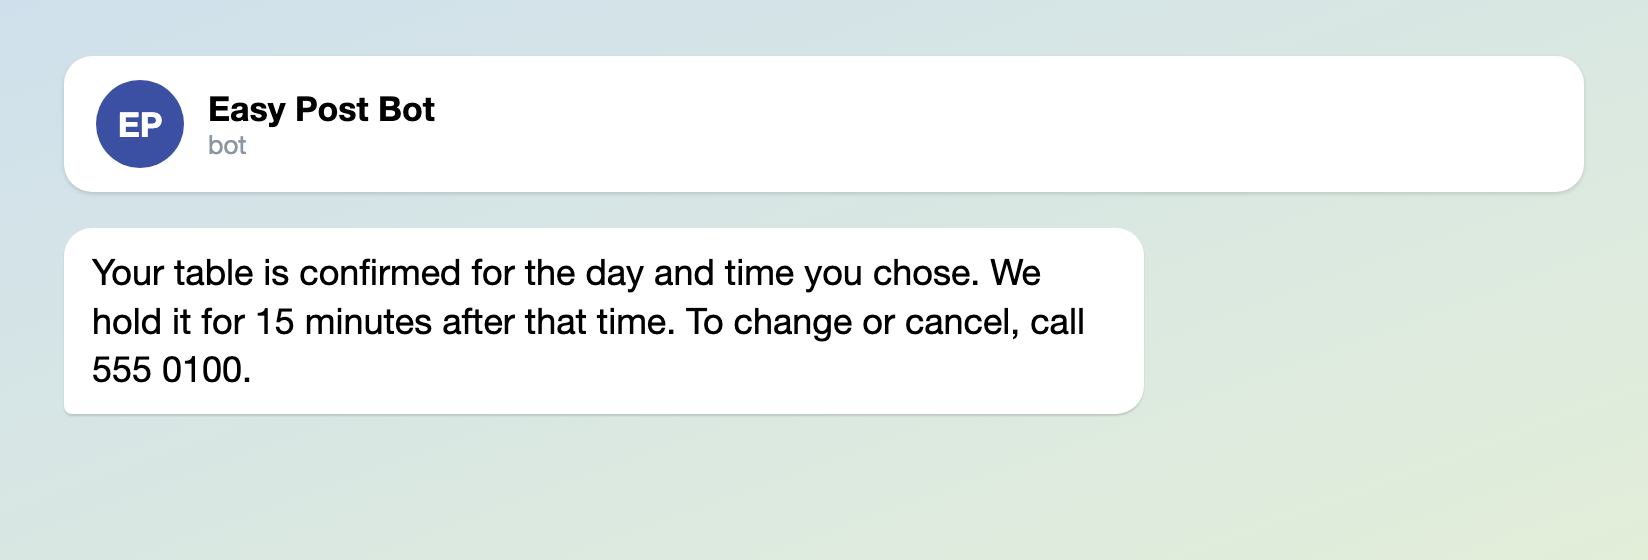
Illustration: the system texts are the bot's own, while the confirmation is the text you write; names and data are made up.
Guests without Telegram
The "Web form" card in the "Where people send submissions" block puts the same form on a page of its own, for guests who do not use Telegram. It is on from the start for a pipeline built on the first screen; for one made with "+ New pipeline", switch it on in that card. The card has a link and a downloadable QR code to print for the door or the tables. Rename the form under "Form Name" in Form Settings, so that the page says "Book a table at Linden Cafe". Connect your channel before you try it: a web booking counts as the first booking from outside your team.
A web booking reaches you as a card too, marked "Sent through the web form" instead of the guest's name, and Approve works the same. But the web guest sees your approved or rejected text only by pressing "Find out the result in Telegram" on the "Sent" page and then Start in the bot, within a day. A guest without Telegram hears nothing from Easy Post, so phone the number from the form.
Before you share the link
- Anyone who has the link can send a booking, and Easy Post checks the phone for format only, so phone a large group before you press Approve.
- In the bot each guest can send 20 bookings a day and 100 a month, and unfinished and deleted bookings count. You are not told when a guest hits the limit. Both numbers are under "Submission Limits" in Form Settings.
- A post in the channel cannot be edited from Easy Post: delete the old post in Telegram and post the new time yourself.
- The board lists bookings in approval order, not by date. The Submissions page shows the newest first, 20 to a page, and the number on the Submissions button counts the bookings still waiting for you.
When you need a spreadsheet
To get approved bookings into a spreadsheet, a webhook (a web address that receives each approved booking, which a tool such as Make or Zapier can turn into a spreadsheet row) can send them there; webhooks are not included in every plan. The event registration form uses the same approval logic with a seat count you keep yourself, and the salon booking bot article covers booking a person's time, such as a haircut.
Test it, then share it
Send yourself a booking from the bot link (the "Copy link" button on the "Telegram bot" card in the "Where people send submissions" block) and press Approve: check the post in the channel and the message the guest gets. Send another and press Reject. Delete your test posts in the channel before staff start reading it. Then put the bot link, and the web form's link and QR code if you use it, where guests ask for tables.
Other forms for similar jobs: appointment request form, booking bot for salons and event registration form. All forms are listed by job in the guide to forms in Telegram.
More guides for business owners, grouped by job, are at the end of Telegram bots for business: 5 workflows.
Only getting started with bots? Read how to create a Telegram bot without code.